Sourdough Bread Recipe
Baking Bread
Baking bread can be difficult, but once you get it right it feels so satisfying. One of the more difficult breads to bake is Sourdough, which can be complicated, but as long as you follow the directions carefully, you should be okay.
What is Sourdough?
As far as healthy food goes, Sourdough is a lot better than many other loaves, The naturally occurring acids and long fermentation help to break down gluten, which makes it much easier to digest and for the body to absorb.
Sourdough is a slow-fermented bread, it doesn't require commercial yeast in order to rise. It is made with a live fermented culture known as Sourdough Starter.
Sourdough Starter
You can purchase some from a store or you can make your own.
All ingredients can be purchased at Jo Anne's Place.
Ingredients to begin
1 cup whole wheat or rye flour
1/2 cup water (some will suggest bottled mineral water is best, but tap water also works just fine)
Ingredients to feed your starter
1 cup all purpose flour
½ cup water
Tools
A digital kitchen scale or measuring cups
A non-reactive container (glass, stainless steel, or ceramic all work) that can hold at least 1 quart, since your starter will need room to grow in it)
Day 1
Combine 1 cup of whole wheat or rye flour with ½ cup of water thoroughly in the non-reactive container. Leave the container out at room temperature (at least 21 degrees Celsius), uncovered, for 24 hours. It is important to let air circulate around the starter so it can capture natural yeasts in the air, but if you don’t want to leave it entirely uncovered, you can secure a layer of cheesecloth over the container with a rubber band.
Days 2 and 3
Discard half the starter (about 113 grams or ½ cup of the mixture). You’ll be discarding quite a bit of starter over the next few days, which you can either reuse to make pancakes or compost. To the remaining starter, add 1 cup of all purpose flour and ½ cup of water. Combine and let sit at room temperature for 24 hours.
Day 4
You should notice some bubbles and will want to start feeding your starter every 12 hours now. Continue feeding by weighing out 113 grams starter, discarding the remainder, and feeding with 113 grams all purpose flour and 113 grams water. Mix, cover, and let rest for 12 hours before repeating again.
Day 5
Repeat the same 1:1:1 ratio of starter, flour, and water feeding every 12 hours. By the end of Day 5, you may have an active sourdough starter. A sourdough starter is ready to use when you see lots of bubbles on the surface and the mixture has doubled in volume. An active sourdough starter will also smell a little bit fruity or tangy.
If your starter hasn’t doubled in volume and is not bubbly, repeat the process of discarding and feeding every 12 hours until it does. The process often takes up to a week so continue feeding for a few extra days if it hasn’t doubled yet—patience is key here.
How to make the bread
We're finally here, it's time to actually make the bread.
Step #1: Mix The Dough
Combine the following ingredients in a large bowl
250g water
150g bubbly, sourdough starter
25g olive oil (we recommend using Phoeapolis)
Add:
- 500g bread flour
- 10g fine sea salt
Squish the mixture together with your hands until the flour is fully absorbed. The dough will feel dry, rough and shaggy.
Cover the bowl with plastic wrap, reusable wax wrap, or a very damp kitchen towel and let rest or ‘autolyse’ for about 30 minutes. After the dough has rested, work it into a ball directly in the bowl (it doesn’t have look perfect).
Step #2: Bulk Rise
Now the dough is ready to rise.
Cover the bowl and let rise at room temperature, about 20-22° C
The dough is ready when it has doubled in size and no longer looks dense.
This can take anywhere from 3-12 hours depending on your current room temperature, the potency of your sourdough starter and the specifics of your surrounding environment.
And remember: because sourdough bread does not contain instant yeast it will take longer to rise. Watch the dough and not the clock. Be flexible.
Step #3: Divide & Shape The Dough
Remove the dough onto a lightly floured surface.
Cut the dough in half to make 2 loaves, or leave it whole for a single loaf.
How to Shape a Round Sourdough Boule (Loaf)
Step #4: Choose a Baking Pot
You can use any oven safe pot that can heat up to 450º F/ 232º C (including the lid and handles).
Step #5: Second Rise
After shaping the dough, it needs to rise again.
Generously coat the bottom of your oven-safe pot with non-stick parchment paper and place the dough inside.
This time, the dough will rise for a shorter period (about 30 minutes- 1 hour)
The dough is ready when it’s puffy and no longer dense. It does not need to double in size.
Preheat your oven to 450º F/ 232º C during the tail end of the second rise.
Step #6: Score the Dough
After the second rise, and right before the dough goes into the oven, make a slash about 2-3 inches long down the center of the dough.
This allows the steam to escape and for the dough to expand during baking.
You can use a small serrated knife, paring knife or bread lame.
Step #7: Bake the Sourdough Bread
Place the lid on top of the pot and reduce the oven temperature to 400º F/ 204º C.
Bake on the center rack for 20 minutes.
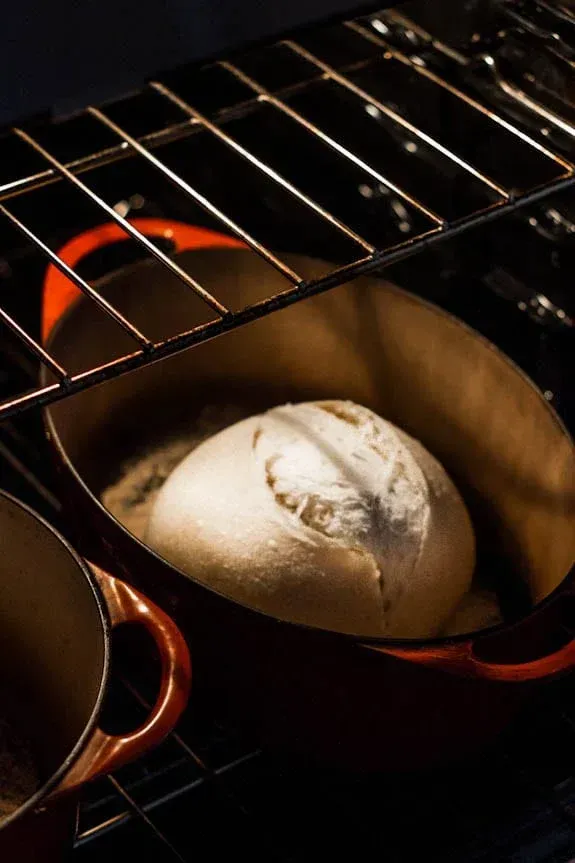
When 20 minutes is up, remove the lid. Your bread will be pale and shiny like the picture above.
Continue to bake (uncovered) for an additional 40 minutes or until deep, golden brown. The internal temperature should read 205-210º F/ 96-98º C.
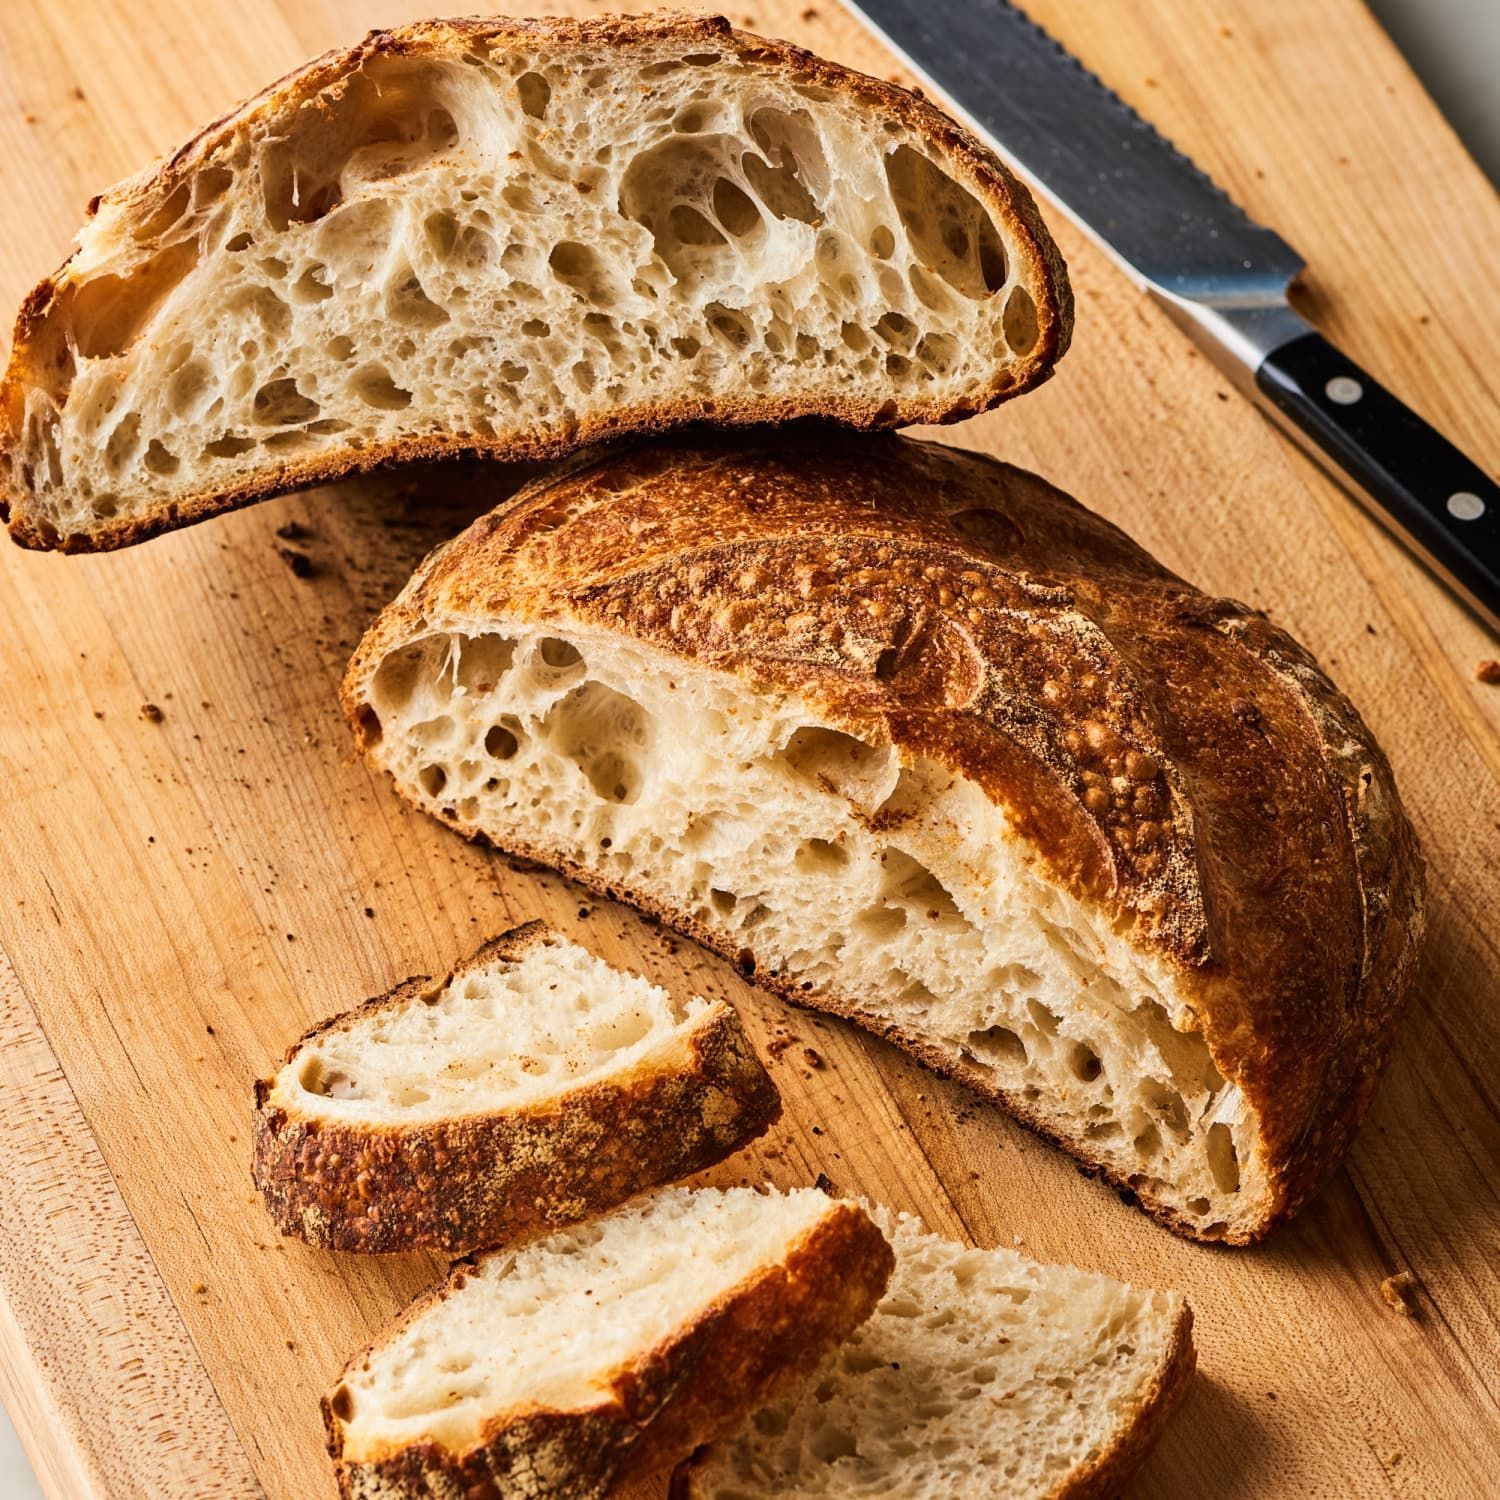
Cool on a wire rack for at least a 1 hour before slicing. Be patient!
If you cut into it too soon, the texture will be gummy.
Recipes sourced from:
https://www.theclevercarrot.com/2014/01/sourdough-bread-a-beginners-guide/
https://www.goodhousekeeping.com/food-recipes/cooking/a32416409/how-to-make-a-sourdough-starter/
All ingredients can be found at Jo Anne's Place. To see store hours, click here.
Made this recipe? Tag us on social media - we'd love to share your creation with our community!